2018, The start of something new, CNC rebuild
After nearly 12 years of service, my excellent little desktop CNC machine is tired and in need of some TLC..
After nearly 12 years of service, my excellent little desktop CNC machine is tired and in need of some TLC.. I have already replaced the ballscrews and nuts and now its time to take care of some stuff I have noticed over the years of use..
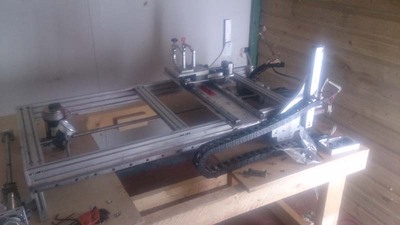
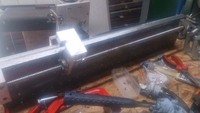
This is part of step 1, the gantry isn't stiff enough for my liking made only of 6mm aluminium I am able to create some deflection just by leaning on the router or z axis motor..
I start by disassembling the gantry, this is a little scary but if I want to create a more stable platform to deliver higher quality machining, it's gotta be done..
As many of you know, I hate metalwork....
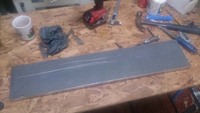
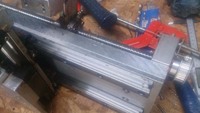
I take the rail plate and match it up to a piece of 20mm thick aluminium with the intention of making an exact copy.
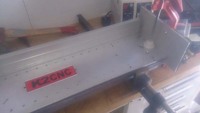
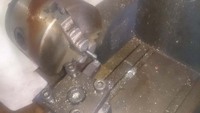
to transfer the holes from one plate to another, I lathe up a bolt to the exact hole size and leave a point on the end. I stack the plates and clamp them before tapping each hole and there a quite a few!

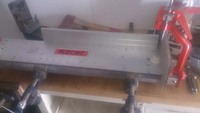
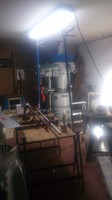
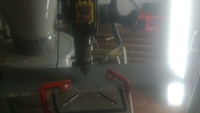
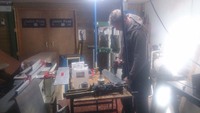
with the workshop not setup yet, I rig up a makeshift workbench with lighting held up by plasterboard props, then I get on with centrepunching all marks before getting the plate onto the pillar drill.. it's at this point I wish I had bought the mill that I've wanted for years..
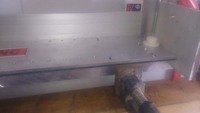
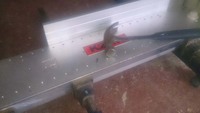
then I tap all the holes and remount the x axis (or y axis for some people) rails onto the original plate with the new plate behind.. I have bolted straight through the first into the second, creating a sandwich of the original plate.

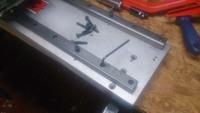
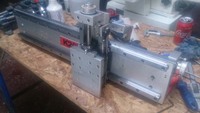
after running in the rest of the bolts and checking that the bearings are not binding, I reattach the ballscrew, this was a difficult one as it is located very precisely on 4x 3mm dowels, the fact I managed to get these dowels drilled into the correct position gave me more pleasure than is probably normal..
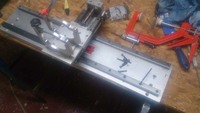
and there, that took me all day.. the gantry is almost completely reassembled, just a couple of spacers to make to make of for the fact I've added 20mm to the thickness of the plate and then I will remount it to the machine.. In the second photo here, you can see the 2 plates sandwiched together, and the original vs the new thickness...
Jaden.